In this post, I will show how to create a very basic app that can authenticate users using Stripe Connect and how Torii library can be used for this. And, yeah, this blog post is 3-mile-long.
Start
I will start with an empty ember-cli app:
ember new stripe-test
cd stripe-test
The next step is to install the Torii library. It can be done using npm:
npm install torii --save-dev
Now let’s test that the app works and start the server:
ember s
The 1st Mile
Now it’s time to configure Torii. Let’s configure the Torii provider for Stripe Connect in the config/environment.js. Torii providers are entities which are responsible for communication with 3rd party authentication backends such as Facebook, Stripe or your own (the list):
ENV.torii = {
  sessionServiceName: 'torii',
  providers: {
    'stripe-connect': {
      apiKey: 'ca_5r02zOg4ABMMwW1I8zE1cyn2sltmya12',
      redirectUri: 'http://localhost:4200'
    }
  }
};
UPDATE (thanks to @bantic): the sessionServiceName tells Torii to configure the session service. An instance of the session service is injected in controllers and routes whereas plain Torii is only available on routes. Having defined the name of the session service as torii we override the plain Torii instance with a Torii session instance. If you want to use the plain Torii you should define some other name for the session service or don’t use the session management at all. In that case in order to make Torii available on controllers, the following initializer has to be added (e.g. in app/initializers/torii.js):
export default {
  name: 'torii-in-controller',
  after: 'torii',
  initialize: function(container, application) {
    application.inject('controller', 'torii', 'torii:main');
  }
};
We have defined two parameters for the provider - apiKey and redirectUri. The apiKey is provided by Stripe and you can obtain it using your Stripe account Your account -> Account Settings -> Connect. The page looks like this:
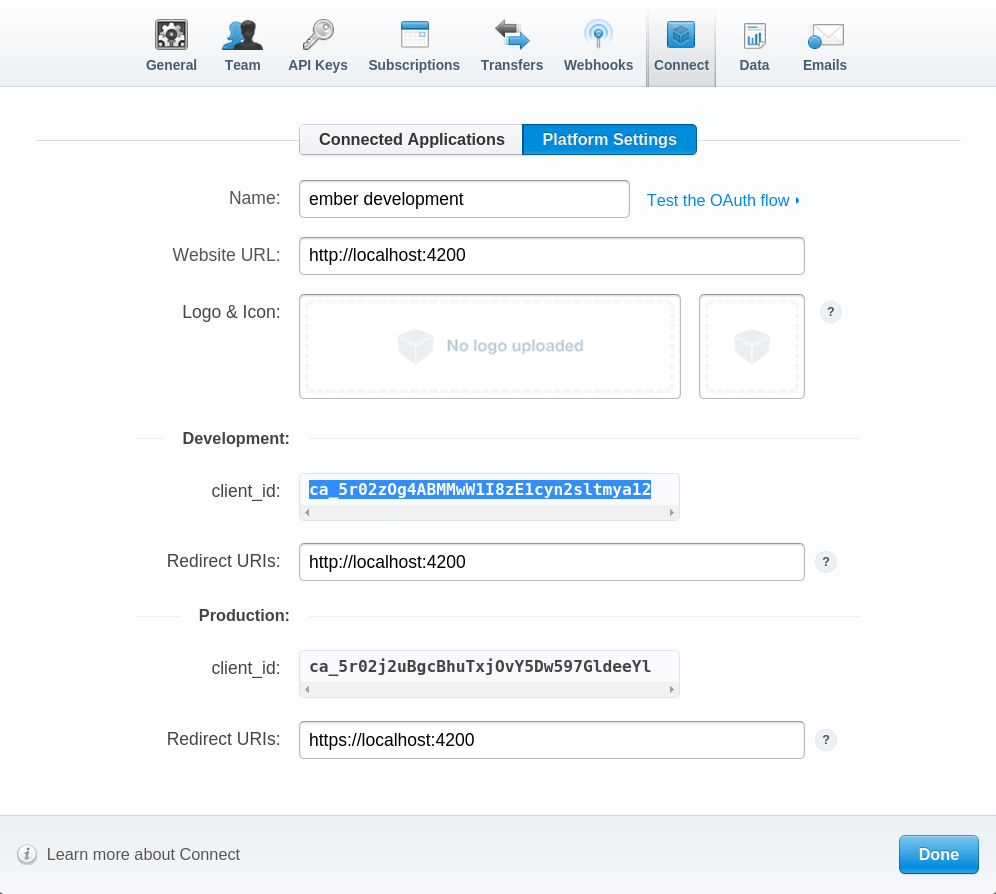
During development you’ll need the development client_id. The client_id is your provider’s apiKey.
Now let’s create the main application controller where we’ll place the authentication logic:
ember generate controller application
This will create app/controllers/application.js and app/templates/application.hbs. First, let’s modify the template so that it shows the Stripe connect button and the authorization key:
<h2 id="title">Welcome to Ember.js</h2>

<a href="#" {{action 'connect'}} class="stripe-connect">
  <span>Connect with Stripe</span>
</a>

<br>

Stripe Authorization Token: {{authorizationCode}}
The button needs some styles. You may use official Stripe styles from here. Copy the styles to app/styles/stripe-connect.css and add the newly created css file to your Brocfile.js:
app.import('app/styles/stripe-connect.css');
Additionally, we’ll need to add the contentSecurityPolicy configuration to the development environment of the app (why it’s needed, read here):
ENV.contentSecurityPolicy = {
  'default-src': "*",
  'script-src': "*",
  'img-src': "*"
};
The 2nd Mile
If we start the server now, we’d see the standard Strip Connect button. Now let’s add a handle to it in the app/controllers/application.js:
import Ember from 'ember';

export default Ember.Controller.extend({
  actions: {
    connect: function () {
      this.get('torii').open('stripe-connect').then(function(result) {
        this.set('authorizationCode', result.authorizationCode);
      }.bind(this));
    }
  }
});
The last part is the torii adapter. Torii adapters are entities responsible for managing the authentication state and they are needed for the session management. An adapter should contain at least the open method which will be called whenever users log in using one of the providers and the data returned by the provider will be passed on to the adapter’s open method. Create app/torii-adapters/application.js and define a basic adapter which just returns whatever the provider sends back:
import Ember from 'ember';

export default Ember.Object.extend({

  // The authorization argument passed in to `session.open` here is
  // the result of the `torii.open(providerName)` promise
  open: function(authorization) {
    return authorization;
  }

});
Finish
If we test the app now, we should see something like this:
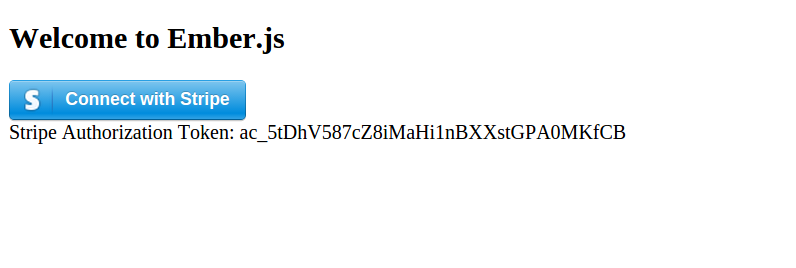
That’s it. Fairly simple. Torii can also work together with Ember Simple Auth but that’s a longer story.
Resources
Thanks for reading.